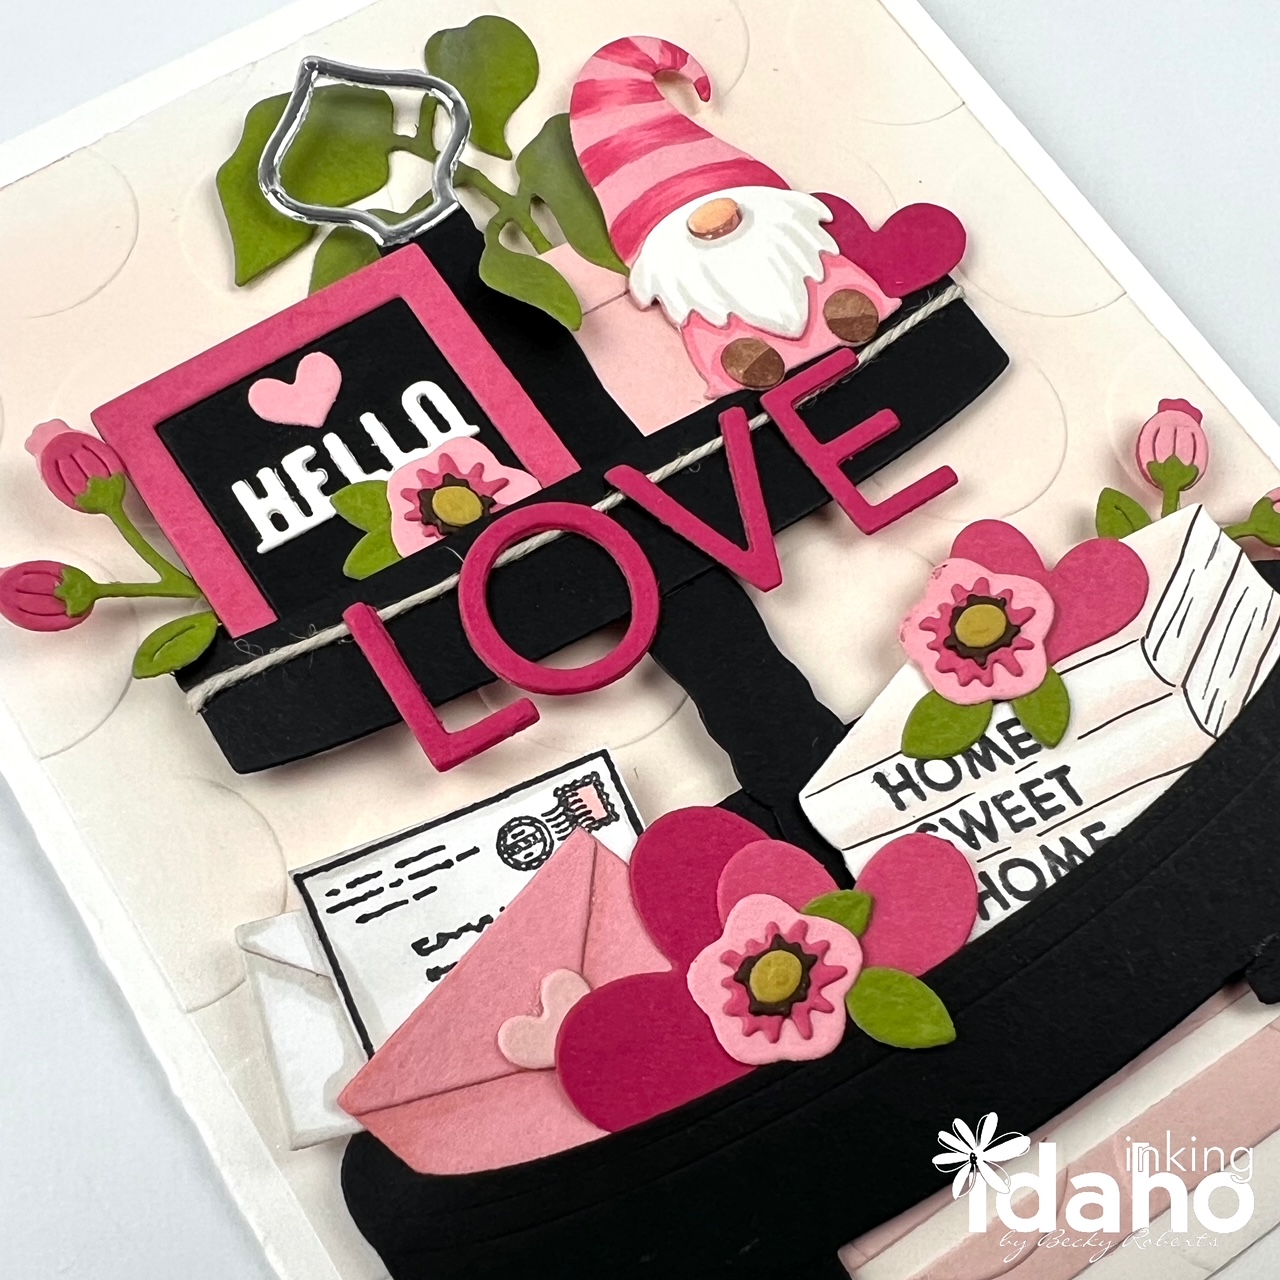
Just when you thought the year of gnome add-ons was over...they've decided to continue! They have been so wildly popular for Jaded Blossom, they just couldn't end it!
Please scroll to the bottom of this post for a personal note.
Also, there are more items in the release, this are just what I am highlighting, so be sure to head over there and check it all out HERE.
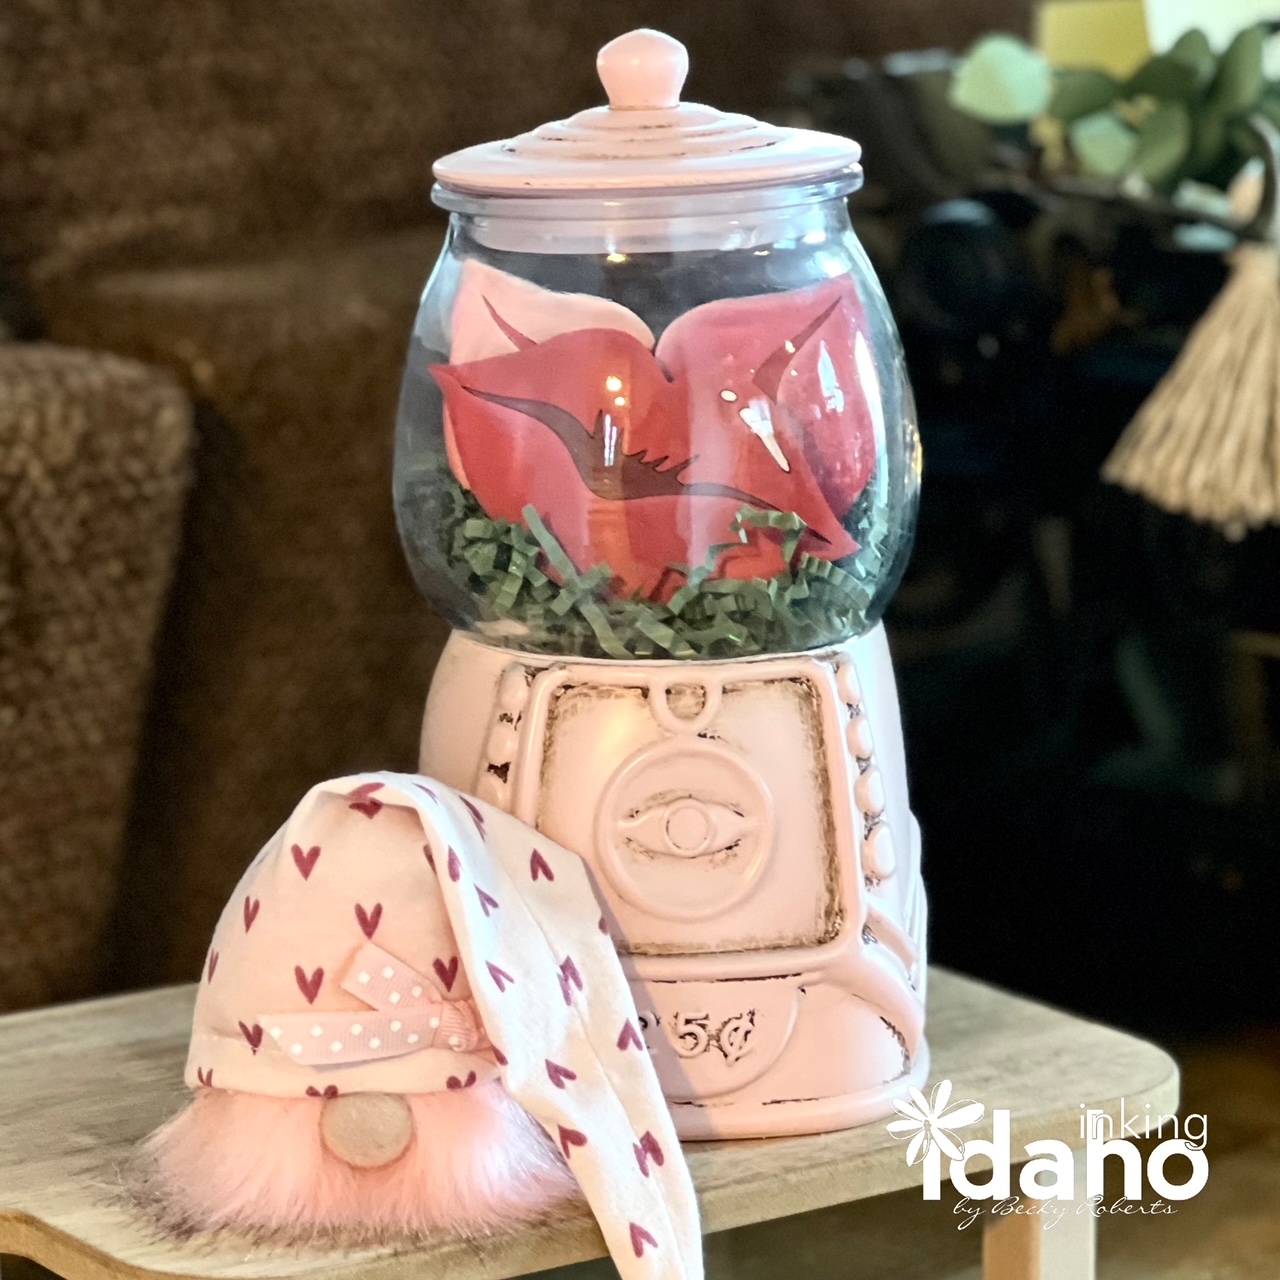
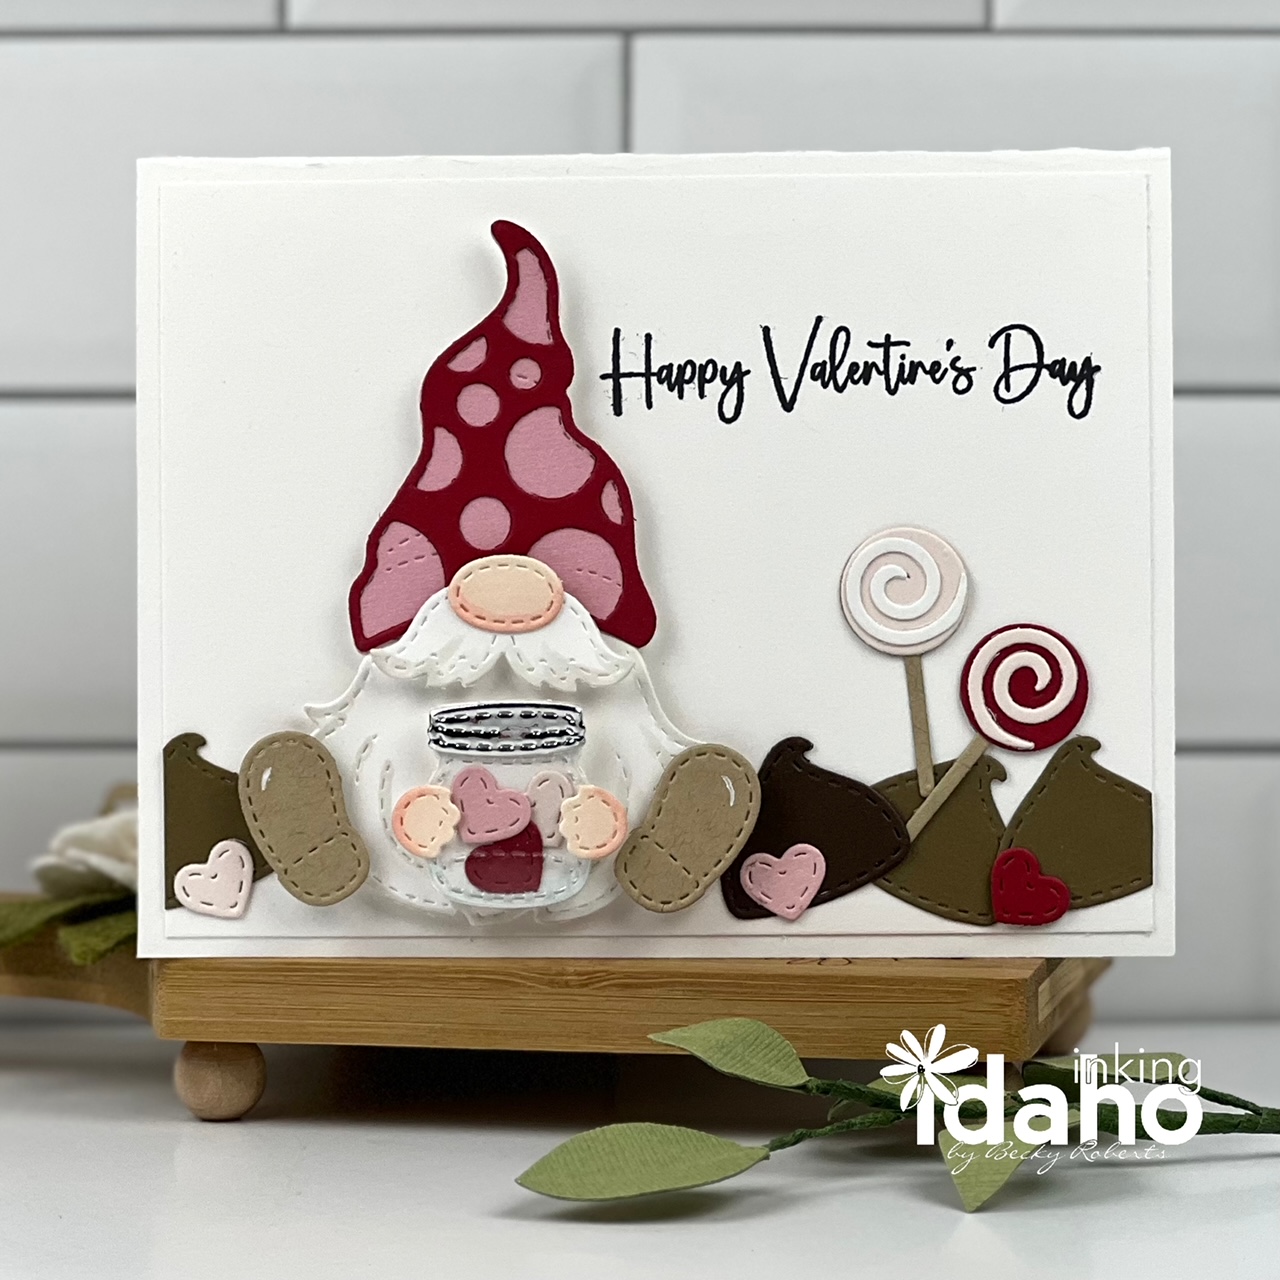
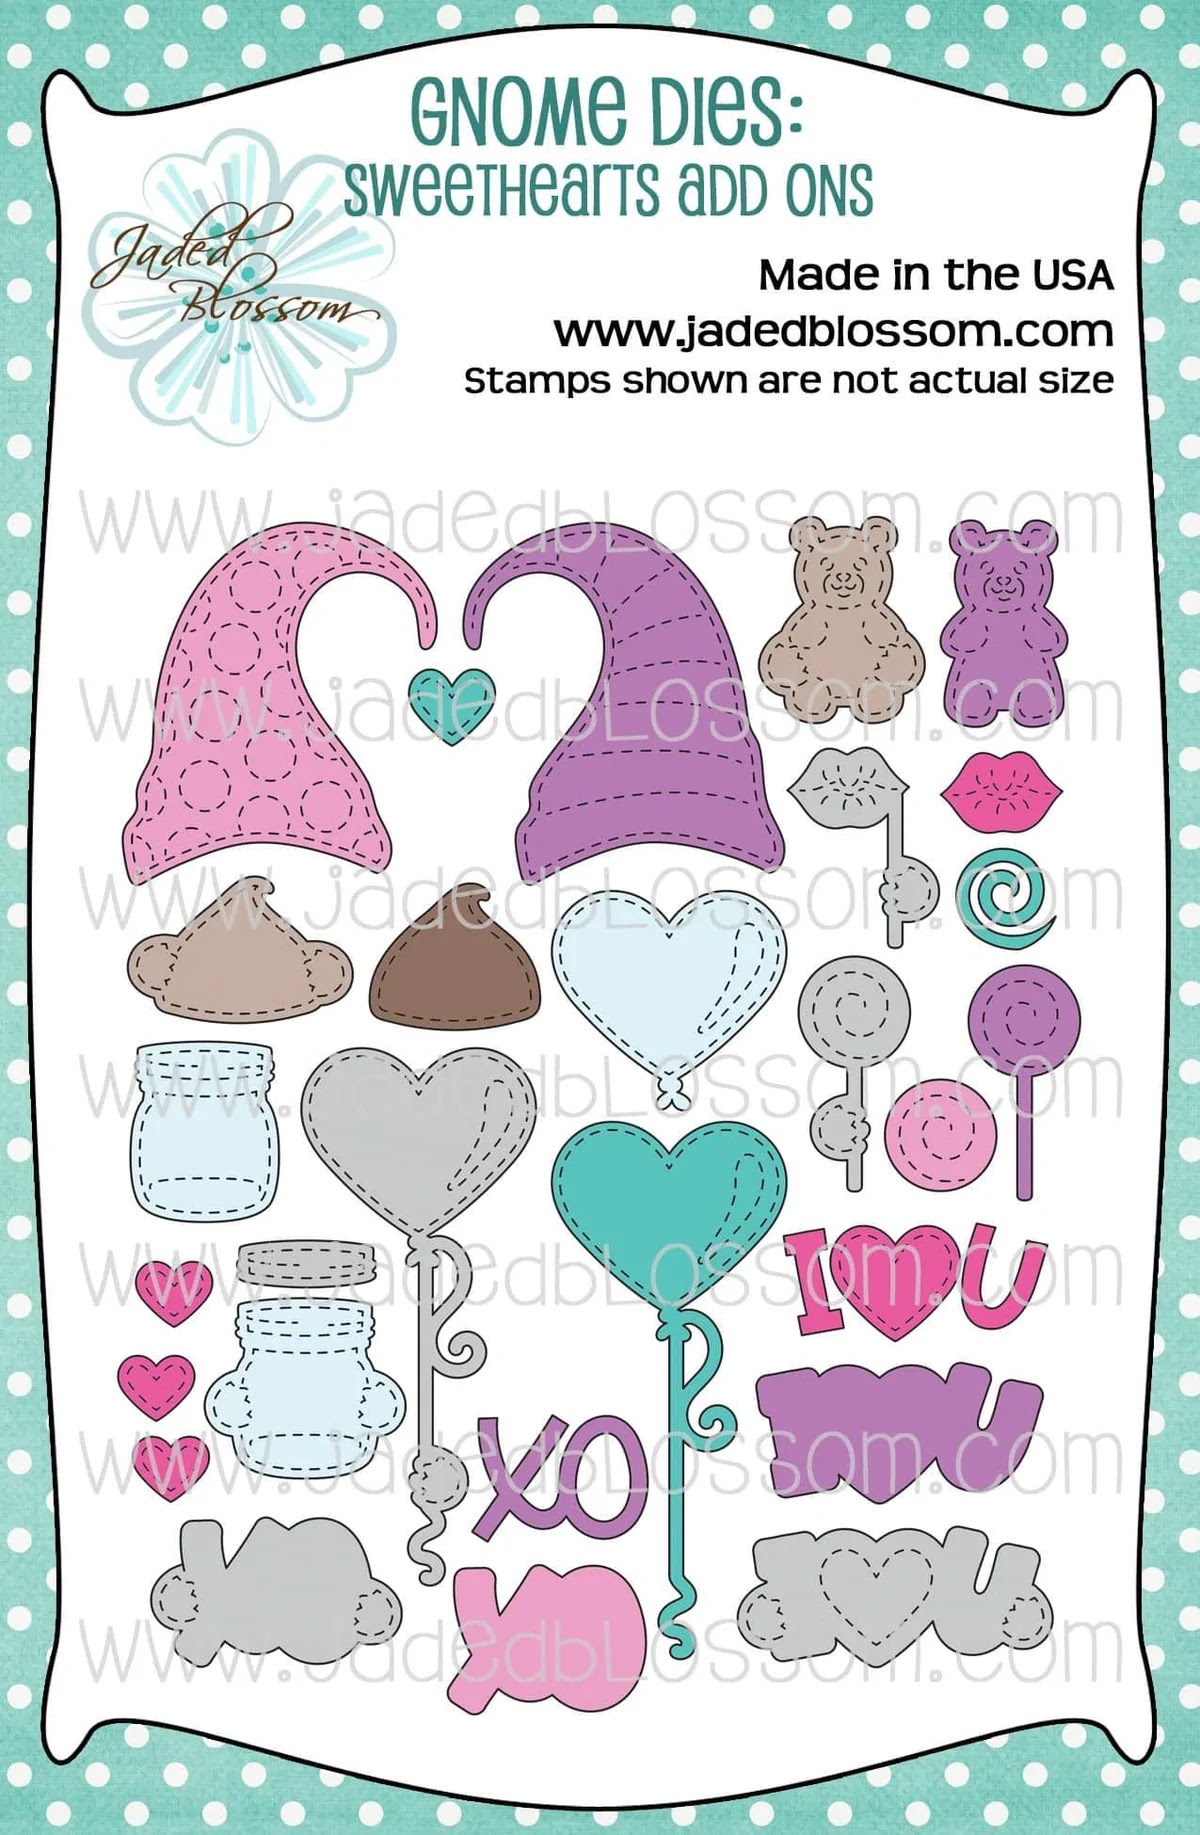
What's Valentine's Day without a few sweets?This guy is holding his mason jar of hearts and surrounded by kisses and lollipops.
Do you remember those big wax lips we used to get at Valentine's? That is what this reminds me of as she is holding up her lip on a stick. 😍
Hey stamping friends, my Instagram account has been hacked, taken down and held for ransom. I've reported to Instagram with screen shots of the e-mails I have received and am waiting to see if they can help restore it. It doesn't sound promising, but I am remaining hopeful. And before you ask...yes, even with the 2 Factor Authentication, they got ahold of my account.
To Instagrams credit, they did send me an e-mail letting me know suspicious activity was detected, but it was at 3 am and I was sound asleep. I checked my account first thing and it was already gone.
If any of you know how you get Instagrams attention or have an e-mail for a contact other than the standard help desk message, please reply to this newsletter and let me know.
Thank you!!
For more creative ideas, please follow me on my social media platforms.